After recording and saving all the race data, the “Print Reports” button allows you to print a hard copy of various reports.
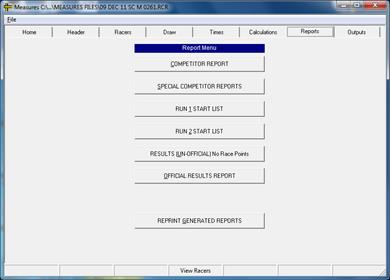
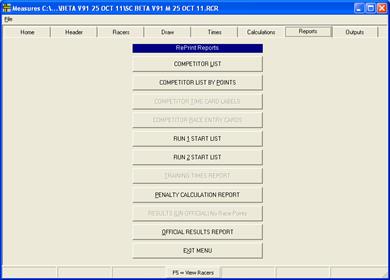
9.0.1 Technical Events (SL, GS, SC): Upon clicking the “Print Reports” button from the main menu, the following screen is displayed.
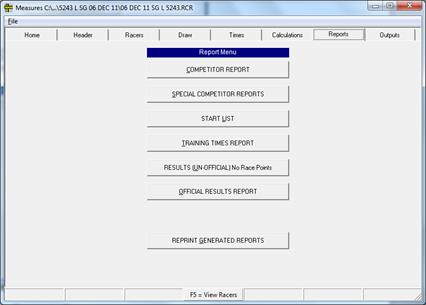
9.0.2 Speed Events (DH, SG): Upon clicking the “Print Reports” button from the main menu, the following screen is displayed.
9.1 Competitor Reports
Competitor Reports are used for the draw and Team Captains meeting. Two reports may be created: you may Sort by Club, and/or Sort by Points. Usually, you will wish to create both reports. The instructions in section 7.1 assume you are creating both reports. If you wish to only create one, omit the Sort by Club instructions, or the Sort by Points instructions.
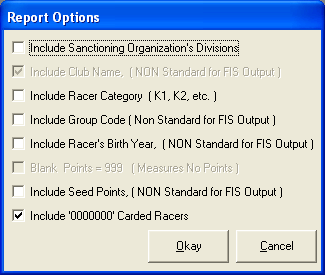
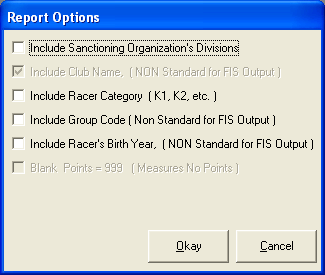
The following Report Options window appears after clicking the Competitor Reports button on the report menu.
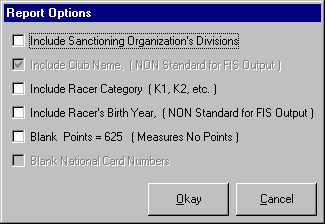
9.1.1 Select ‘Include Racer Category’ and ‘Include Sanctioning Organization’s Divisions’.
9.1.2 Click ‘Okay’. The following Measures Query is opened.

9.1.3 Click the ‘Yes’ button.
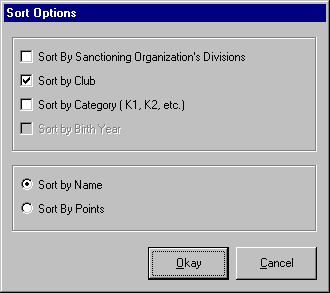
9.1.4 Click ‘Sort by Club’ and ‘Sort by Name’ to create the first report.
9.1.5 Click the ‘Okay’ button. The following report appears showing all the racers sorted by Club.
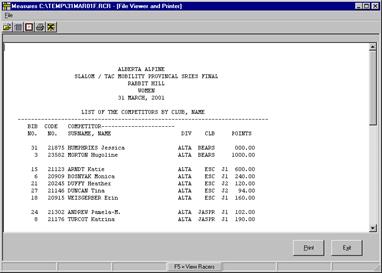
9.1.6 Click the ‘Print’ button.
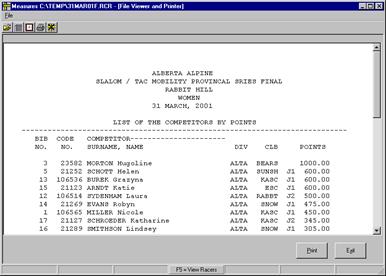
The second report is a Series Points report. This generates a report that lists all racers by their points which are needed for the draw.
Generating the Series Points report is similar to the Sort by Club instructions. Repeat steps 9.1.1 through 9.1.6, however, in step 9.1.4, click the ‘Sort by Points’ button instead of ‘Sort by Name’.
9.1.7 The following report is an example of a Series Points report.
9.2 Special Competitor Reports
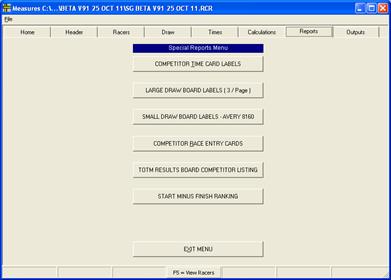
The Special Competitor Reports button is used to make labels for time cards or entry cards. Click the ‘Special Competitor Reports’ button on the Report Menu.
9.2.1 Competitor Time Card Labels
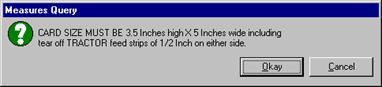
When competitor time card labels is selected the following measures query appears.

9.2.1.1 Select the type of labels you have. Most printers will use the ‘2 Up’ type. Click the ‘2 Up’ button to display following Measures Query.
9.2.1.2 If date is correct, click ‘Okay’. If date is not correct, correct it and then click ’Okay’. The following dialogue box appears.
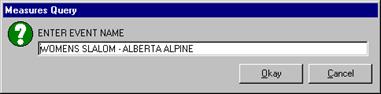
9.2.1.3 Ensure the event name is correct and click ‘Okay’.

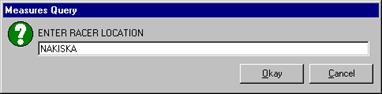
9.2.1.4 Ensure the Racer Location is correct and click ’Okay’. The following measures query is displayed.

9.2.1.5 Select the sort criteria desired. The following is shown.

9.2.1.6 Select ‘Yes’ to display the following report. If ‘No’ is selected, move to step 9.2.1.8.

9.2.1.7 Click either ‘Print’ or ‘Exit’.
9.2.1.8 If you select ‘No’ for ‘Do you Wish to Print all Racers’, the following pick list is shown.
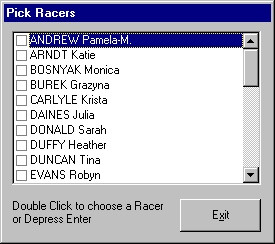
9.2.1.9 Click the ‘Enter’ key to either selects or de-selects a racer. Use the down or up arrows to scroll through the list. After you have selected all required racers, click ‘Exit’. The following report is generated showing labels for the racers you have selected.
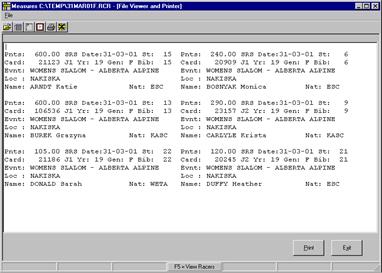
9.2.1.10 Click either ‘Print’ or ‘Exit’.
9.2.2 Large Draw Board Labels (3/Page)
This will produce 3 draw cards (landscaped) per page. This size will fit on the World Cup drawboards or the ones that Phyllis Kennedy uses.
9.2.2.1 Selecting ‘Large Draw Board Labels (3/Page) will display the following window:

9.2.2.2 Select the discipline points you want on the cards (use the Second Discipline if you are running another discipline in the event – this will save you from reprinting the cards).
9.2.2.3 Click ‘Okay’ – the following is displayed

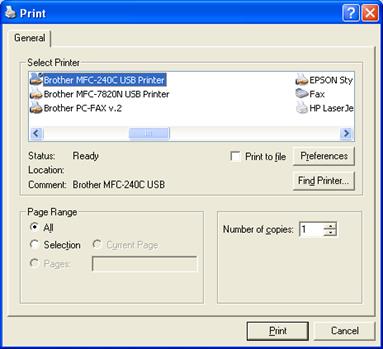
9.2.2.4 To print all racers Click Yes and the Print window is displayed.

9.2.2.5 Select the printer and preferences desired and click on ‘Print’
9.2.2.6 To print selected racers, Click No and the following is displayed
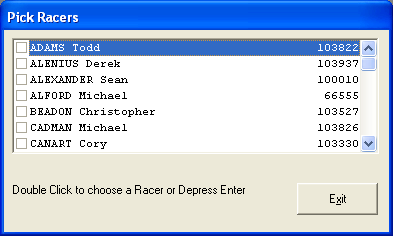
9.2.2.7 You then click on the racers you want cards printed for. This is used when you have already printed off all the draw cards and there are late entries. Click on ‘Exit’.
9.2.2.8 The Printer window is displayed.
9.2.2.9 Select the printer and preferences desired and click on ‘Print’
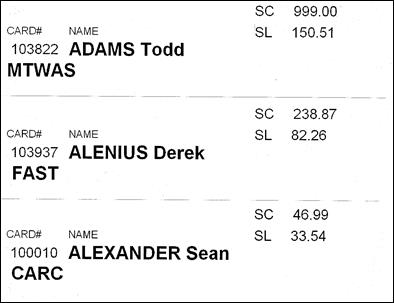
9.2.2.10 Following is an example of the cards produced. NOTE: this image is not to size.
9.2.3 Small Draw Board Labels - Avery 8160
These are designed to fit on Avery 8160 labels.
9.2.3.1 Click on ‘Small Draw Board Label – Avery 8160, the following window is displayed:
9.2.3.2 Click on Print to print the labels.
9.2.4 Competitor Race Entry Cards
9.2.4.1 The following dialogue box is displayed when you click the ‘Competitor Race Entry Cards’ button on the Special Reports Menu.
9.2.4.2 Click ‘Okay’ to display the following Measures Query.

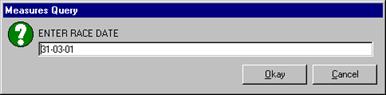
9.2.4.3 Ensure the race date is correct and click ‘Okay’. The following dialogue box appears.

9.2.4.4 Ensure the event name is correct and click ‘Okay’. The following Measures Query is displayed.
9.2.4.5 Ensure race location is correct and click ‘Okay’. The following dialogue box appears.

9.2.4.6 Click on the required sort criteria. The following report screen is generated.
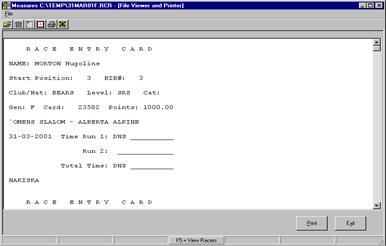
9.2.4.7 Click “Print” to print the cards or “Exit” to cancel.
9.2.5 TOTM Results Board Competitor Listing:
This function produces draw cards that can be used for manual draws. These print out 11” wide by 1 ½” high.

9.2.6 Start Minus Finish Ranking:
This function is used to determine the most improved racer.
Before using this function you must have produced a Penalty Calculation and an Official Results Report.
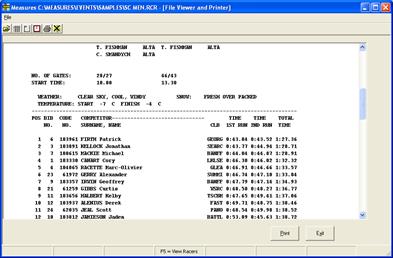
9.2.6.1 Clicking on Start Minus Finish Ranking will display the following:
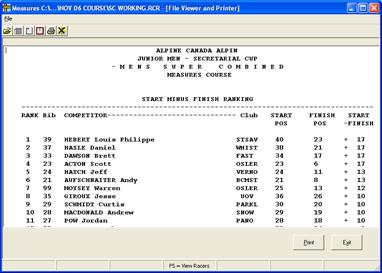
9.2.6.2 This displays the entire field in descending order with the most improved first.
9.2.6.3 Click on Print to print or Exit to not print.
9.3.0 RUN 1 START LIST
9.3.1 Compressed Start List:
9.3.1.1 Click on Run 1 start list and you get the following query:
9.3.1.2 Select report options and click on Okay and the following query is shown:
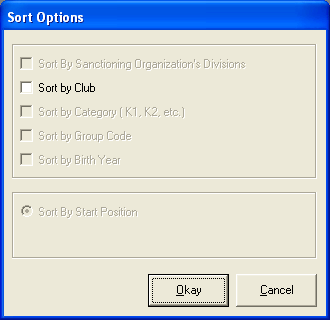
9.3.1.3 Click Okay and the following Query is shown:

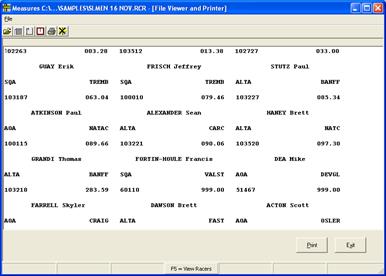
9.3.1.4 For a Compressed Start List Click YES and the following report is shown:

9.3.1.5 To print the report, click Print and follow the printer preferences. If you do not want to print, click on EXIT.
9.3.2 Full Start List
9.3.2.1 Follow Instructions for Compressed Start List above (Section 9.3.1.1 to 9.3.13)
9.3.2.2 At the following query, select NO.

9.3.2.3 The following report is shown:

9.3.2.4 Select Print or Exit.
9.4.0 RUN 2 START LIST
9.4.1 Compressed Start List with Normal Run 2 Start Order:
9.4.1.1 Click on Run 2 Start List and you get the following Query:

9.4.1.2 Select report options and click on Okay and the following query is shown:
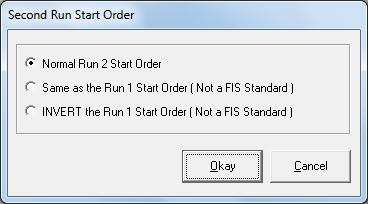
9.4.1.3 Click on the Second Run Start Order – Normal Run 2 Start Order as required. The following Query is shown:

9.4.1.4 Select ‘Yes’ to add the DSQ’s and DNF’s to end of start list and the following is displayed.

9.4.1.5 Select ‘Yes’ to include the DNS’s or ‘No’ to omit them. The following query is displayed:

9.4.1.6 Enter the number of TOP RACERS to REVERSE. It usually is 30 but can be any number agreed on by the Jury. The following Query is then shown:

9.4.1.7 Click on YES, NO or CANCEL as required. The following Query is then shown:

9.4.1.8 See RUN 1 START LISTS for choices (Section 9.3.0)
9.4.2 Compressed Start List with Same as Run 1 Start Order: (National Races only – will not display for FIS races)
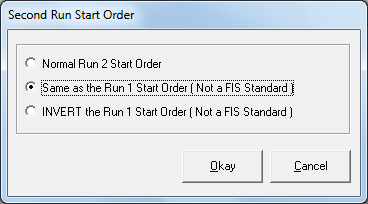
9.4.2.1 Click on Second Run Start Order – Same as the Run 1 Start Order.

9.4.2.2 Select ‘Yes’ to add the DSQ’s and DNF’s to the start list and the following is displayed.

9.4.2.3 Select ‘Yes’ to include create the Compressed Start List.
9.4.3 Compressed Start List with Invert the Run 1 Start Order: (National Races only – will not display for FIS races)

9.4.3.1 Click on Second Run Start Order – Invert the Run 1 Start Order.
9.4.3.2 Select ‘Yes’ to add the DSQ’s and DNF’s to the start list and the following is displayed.
9.4.3.3 Select ‘Yes’ to include create the Compressed Start List.
9.4.4 Run 2 Full Start List
9.4.4.1 Click on Run 2 Start List and follow instructions for Compressed Run 2 start lists until you get the ‘View Compressed Start List’ query and select NO.
9.4.4.2 See RUN 1 START LISTS for choices (Section 9.3.0)
9.5 Training Times Reports
This report is only used for speed events (Downhill and Super G). Clicking on the ‘Training Times Reports displays the following:

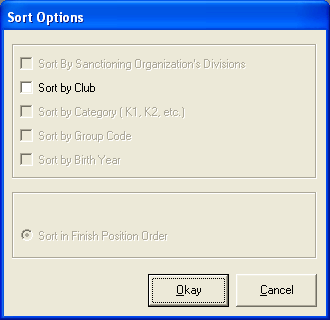
9.5.1 Select report options and click ‘Okay’ or if no report options are required, click ‘Cancel’. The following Sort Options window appears.
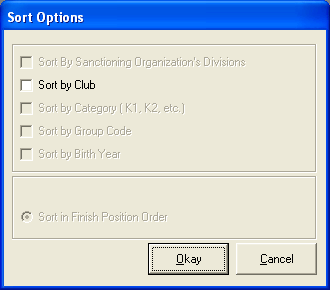
9.5.2 Again select options and click ‘Okay’ or if no options are required, click ‘Cancel’. The following Sort Options window appears
9.5.3 The header will say Training Run and note the report lists the times sorted by bib numbers.
9.5.4 Click ‘Print’ to print or ‘Exit’ to exit.
9.6 Results (Un-official) No Race Points
This report is used to generate race results when a Race Calculation is NOT required; for example, a Nancy Greene race or DH training.
9.6.1 Click the ‘Results (Un-official) No Race Points’ button on the report menu. The following Measures Query is displayed.

9.6.2 Click the UN-OFFICIAL and you get the following Query

9.6.3 Click RACE and the following window appears:
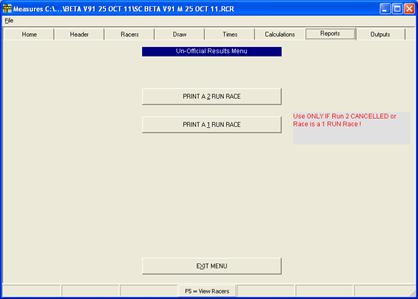
9.6.4 Select the 1 or 2 run race button. Below are instructions for a 2 run race. A 1 run race will give you the same queries.
9.6.5 Click the ‘Print a 2 Run Race’ to display the following Report Options.
9.6.6 Select the report options desired and click ‘Okay’
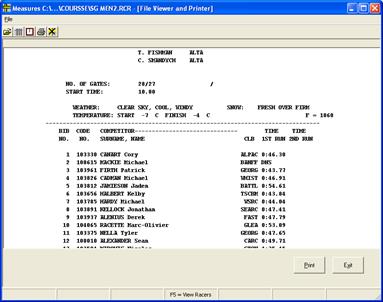
9.6.7 You will now receive the following report:
9.7 Official Results Report
The Official Results Report is generated when a race calculation is required. Click the ‘Official Results Report’ button on the Report menu. The following Official Results Menu is displayed.

9.7.1 Select the print 1 or 2 run race button. The following report options are displayed.
9.7.2 Select the options required and click ‘Okay’. The following Measures Query is shown.
9.7.3 Select the options desired and click ‘Okay’. The following Official Results report is generated.

9.7.4 Click either the ‘Print’ or ‘Exit’ button.
9.8 Reprint Generated Reports
The Reprint Generated Reports option allows you to reprint any report you have already generated. Click the ‘Reprint Generated Reports’ button on the Report menu. The following menu is displayed. Note that only the reports you have generated appear highlighted.
9.8.1 Click on the report that you want to display and print the report.